
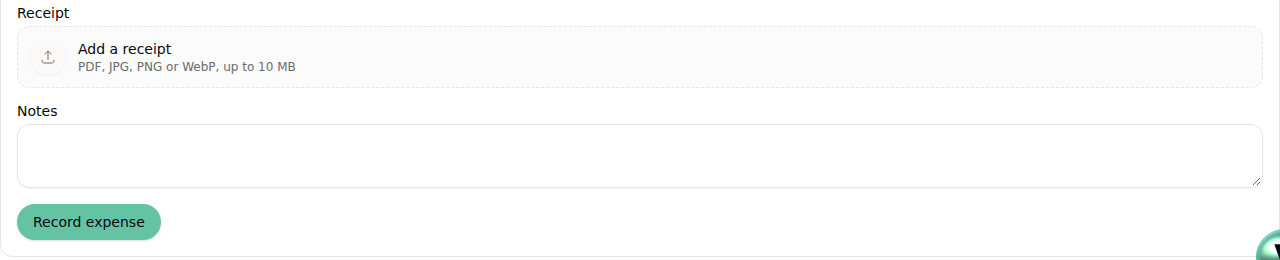
 Add a receipt before saving
Keep the original close
The Cutting Room demo form accepts a receipt alongside the purchase details.
Add the receipt, check the details and keep a record you can find again.
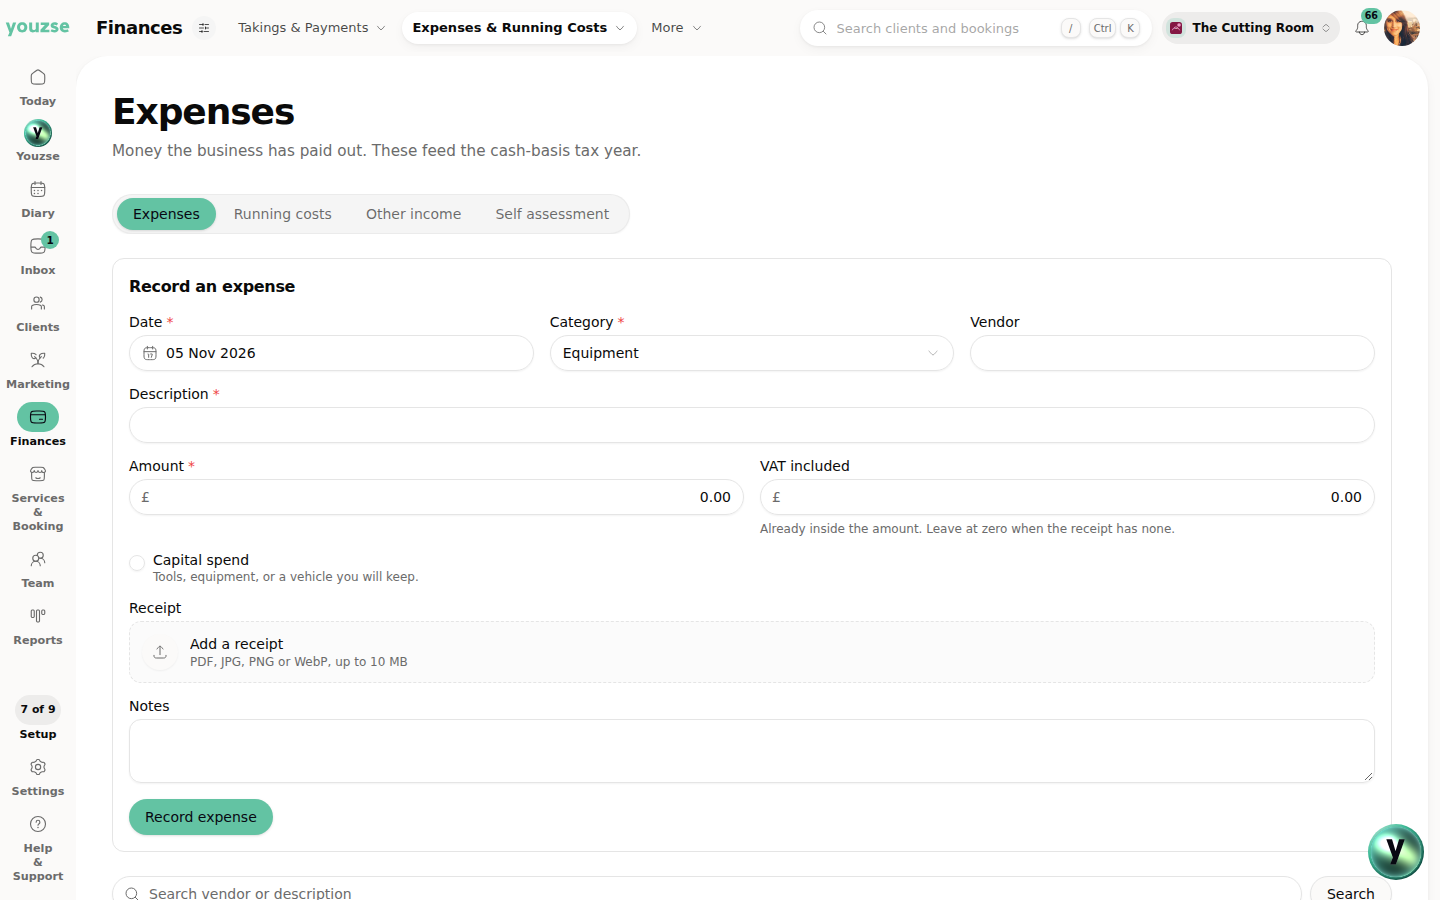
Real expense screens from our demo businesses, The Cutting Room and FlowFix Plumbing, with the roles screen from The Cutting Room.
Add a receipt before savingThe Cutting Room demo form accepts a receipt alongside the purchase details.
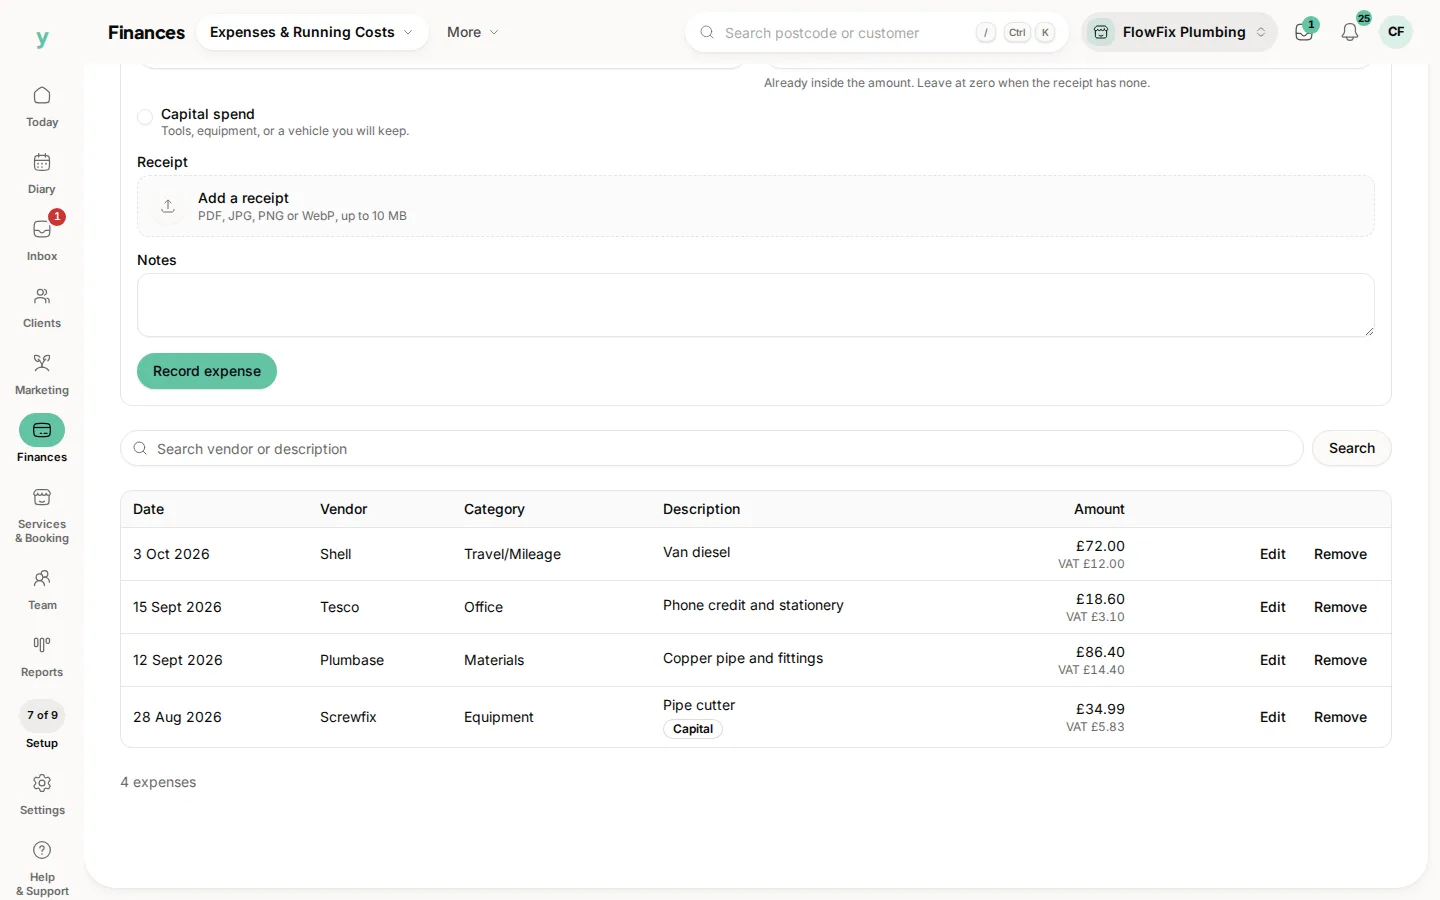 Find the recorded purchase
FlowFix Plumbing demo records show the supplier, category and amounts in the expense list.
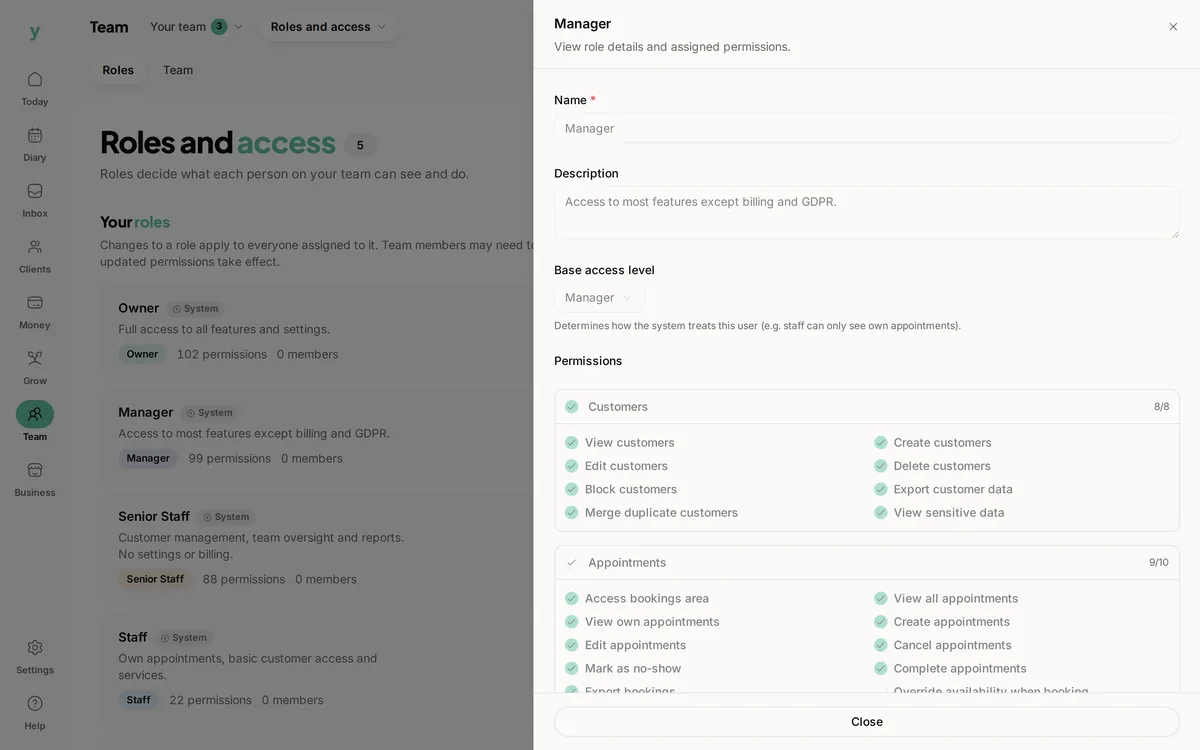 Review the relevant permissions
Review staff permissions for the people viewing and managing business records.
A supplier receipt is useful when you can find the purchase it belongs to. Youzse receipt upload keeps the original file with the expense record. Add a photograph or PDF, review the details suggested from readable text and correct anything that needs attention before saving. The paperwork stays beside the amount, supplier and category, ready for the next time you need to check it. Receipt upload is available in all Youzse mobile apps too.
A plumber buys materials on the way to a job. A salon orders colour and other supplies. A garage collects parts for work already in the diary. Each purchase leaves a receipt that needs a home. Uploading it against the expense keeps the evidence close to the record, rather than leaving a file in a downloads folder with no explanation of the purchase.
Begin with the receipt file and a clear description of what the business paid for. Review the suggested vendor, purchase date and amount, then choose the appropriate expense category. Save when the record reflects the purchase. This is a record of money paid out; uploading a supplier document does not send a payment or settle an outstanding bill.
You can upload JPG, JPEG, PNG and WebP images or a PDF. The maximum file size is 10 MB. A readable original gives the scanner more useful information to work with. For a photograph, include the supplier name, date and totals and check that the printed text is sharp enough to read before choosing the file.
Text extraction works differently for images and PDFs. Images use optical character recognition, often called OCR. PDFs use the readable text in the document. A PDF made only from a scanned image may not supply useful text. The original can still be attached while you enter the expense details yourself.
The receipt scanner looks for a supplier, date, description, total and VAT amount in the extracted text. These are suggestions to help with entry, not a guarantee that every receipt will be interpreted correctly. Different receipt layouts, faded printing and several totals on the same page all make the final check worthwhile.
When suggestions are available, the expense form fills supported fields that are still blank. Details you have already typed are kept. The purchase date can be suggested while it is still set to today. Check it carefully when recording an older receipt, especially if the document also contains an order date, delivery date or a different reference date.
Use the amount the business actually paid for the expense record. Review the VAT amount separately where it appears on the receipt. The VAT field describes VAT already included in the amount, rather than an extra charge to add on top. Leave it at zero when there is none and correct a suggestion that has picked up the wrong figure.
A receipt may include a subtotal, delivery charge, discount and final total. Compare the suggested amount with the document before saving. If the scanner cannot separate those figures reliably, manual entry gives you control of the record. The saved numbers should tell the same story as the purchase you are recording.
The attachment remains useful after the expense has been entered. A short description can tell a colleague that a purchase was workshop consumables, while the receipt shows the supplier and item detail behind it. Keeping those two together gives the business a better starting point when checking a record later.
Choose a description you will recognise when searching. A supplier name alone can describe several different purchases, so include what the money was for. Use notes for context that does not fit the short description. The receipt is supporting evidence for the expense, while the fields on the record make it easier to organise and find.
The expense list can be searched by vendor or description and filtered by category. That means a recognisable supplier and a useful description do more than make the form look complete. They help you return to a purchase when someone asks about a delivery, a replacement part or the cost behind a particular piece of work.
Use categories consistently across the team. If similar purchases are recorded under several different headings, the list becomes harder to review. A receipt upload makes the document available, but it is the combination of that document with a clear description, category and date that makes the record useful in daily work.
Receipt text extraction suggests fields in the expense form. The Youzse AI assistant has a separate job: answering supported questions about business records and preparing supported actions for review. Do not assume that uploading a receipt gives the assistant unrestricted access to every word in every attachment.
For example, an authorised person can ask the assistant to show recent expenses. That uses saved expense records and returns a limited recent list. Creating a supported expense through the assistant is a proposal to review before confirming. Recording an expense does not pay the supplier, so check the actual payment separately.
Expense records have their own view and manage permissions. Someone who needs the appointment diary does not necessarily need the expense list. Review the role used by the person uploading receipts and check the access from that staff account, rather than assuming that what the owner can see is available to everybody.
When a colleague takes over the task, agree how supplier names, descriptions and categories should be recorded. A clear process is more useful than asking everyone to invent their own approach. Review a few receipts together so the person knows when to accept a suggestion, when to change it and when to ask about a purchase.
During the trial, choose a receipt from an ordinary business purchase. Upload a readable copy, compare every suggested field with the original and save the expense only when the details are right. Search for the record using the supplier or description, then check that the attached document is available with it.
Try another document with a different layout and a receipt that needs manual entry. You will see how the workflow behaves when extraction is helpful and when it cannot supply a useful suggestion. That is a better way to assess receipt scanning than relying on a perfect example that does not resemble your paperwork.
| Task | What to try | What to review |
|---|---|---|
| Upload | Choose a supported receipt file up to 10 MB. | The original is readable and belongs to this purchase. |
| Review | Compare suggested date, supplier and totals with the document. | Your own edits remain intact and the final fields are correct. |
| Organise | Choose a category and a recognisable description. | Find the saved expense with a vendor or description search. |
| Hand over | Check the workflow from an authorised staff account. | The role has the expense permissions required for the task. |
Keep the purchase, category and supporting document together.
Review who can see and manage expense records.
Ask supported questions about records you have permission to see.
Review the setup for your service business.
The limits and the detail, answered before you spend an afternoon testing for them.
Yes. Receipt upload is available in all Youzse mobile apps. Select a supported image or PDF, review the details and save the expense when it is correct. Keep the file within the 10 MB limit.
We value your privacy
Cookies keep Youzse running, improve the platform and help deliver relevant content. Read our privacy policy and cookie policy.